To distribute a voice application to other systems, or to make a backup copy of the application, you need to export all the objects that comprise the application. The export process involves the creation of an export file, in which all the objects in the application are packaged. It is then up to you to send the file to another system by any suitable method.
You can export an application from:
- The Applications window (from the Application menu or from the applications’s popup menu)
- The Application window (from the Application menu)
- The AIX command line (see dtexport command)
- A script (see dtexport command).
You can export a complete application (full export) or only those objects which have changed since either the last export time or a date and time you specify (delta export), or you can select individual objects to export (partial export). In addition, you can choose to export only binary objects. These choices are explained further in Choosing objects to export and What are text and binary Objects?.
Multiple simultaneous import or export operations using dtimport or dtexport from the command line, or using import or export functions from the Application Manager are not allowed. If you attempt to start an export operation while another import or export operation is in progress, the Application Manager will display a warning dialog notifying you that another import or export operation is already in progress.
- From the Welcome window, click on Applications —> Applications
- Selecting the application: Either click the application name in the main Applications window, or click the Application window, if it is displayed.
- Exporting the complete application: Click Application
—> Export —> Full.
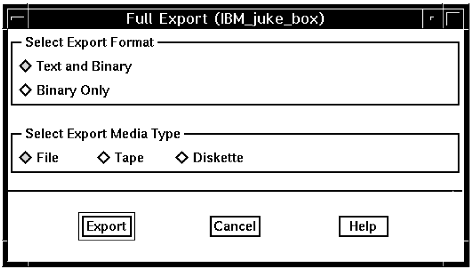
The system displays the Full Export window:
- Proceed to step 13.
- Exporting updated objects only: Click Application —> Export
—> Delta.
The system displays the Delta Export window:
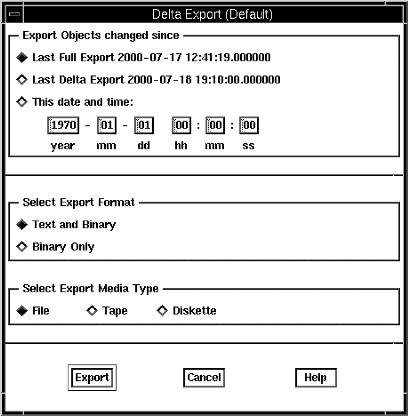
- Click the appropriate radio button for objects changed since Last Full Export, Last Delta Export, or a Specific Date, and if necessary fill in the date fields.
- Proceed to step 13.
- Choosing objects to export: Click Application
—> Export —> Partial.
The system displays the Partial Export Preview window.
If the application has prerequisite applications, a window is displayed for each of the applications. You don’t have to export them all. If you are sure that a prerequisite application is already on the target system, click Export —> Cancel.
All the objects in the application are listed:
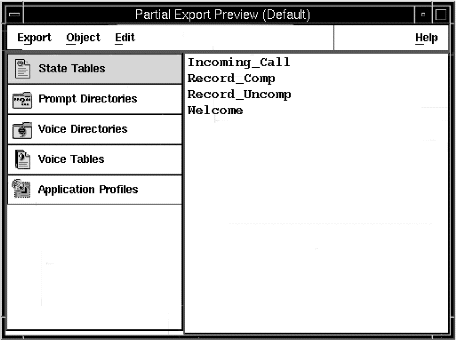
This window allows you to drag in any objects that you want to add to the export file, from any other applications.
It also allows you to exclude objects from the list, to prevent them from being exported.
- To remove an object from the list, click it and click Exclude from the popup menu.
- To add all the objects that are used by an object in the list, click the object and then click Include Dependencies from the popup menu.
- To add an object from another application to the list, open the other application. Then click the object in the Application window and drag it into the Partial Export window.
- Exporting: Select Export —> Confirm on
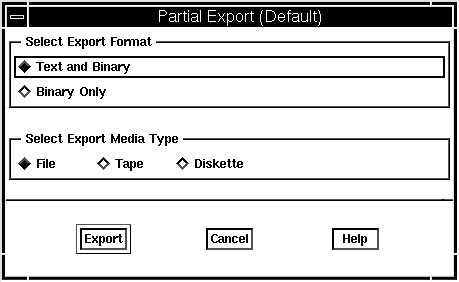
the Partial Export Preview window to display the Partial Export window.
Click the appropriate radio button for Text and Binary objects, or Binary Only.
What are text and binary Objects?:Each state table, prompt, and 3270 script comprises a text file and a binary (executable or “runtime”) file. You need both files for development, but only the binary file for running applications in production.
Select Text and Binary if:
- You are exporting to another development system
or
- You are exporting to a production system but want to ensure that you don’t lose the source files.
Select Binary Only if:
- You are distributing the object to production systems
and
- You don't want anyone else to see or modify the code. Note: The Object Settings window for each object has a radio button for Do not export when "Binary Only" is selected. Selecting this means that when you select Binary Only, the object is not exported.
- You are exporting to another development system
- Specifying where to put the export file: Click the
appropriate radio button for media type.
If you click File, the system displays the Export File window:
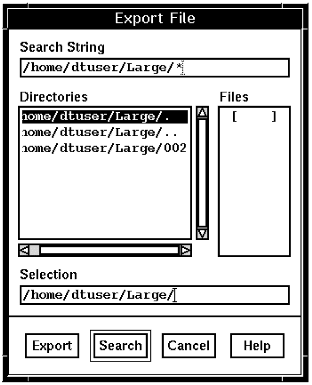
- Click the directory and select or type in the file name for the export file.
- Click OK.
The “working” dialog is displayed. The progress of the export is displayed on the status line in the Applications window.
When the export is completed, the system displays the Export Report window, giving details of what was exported:
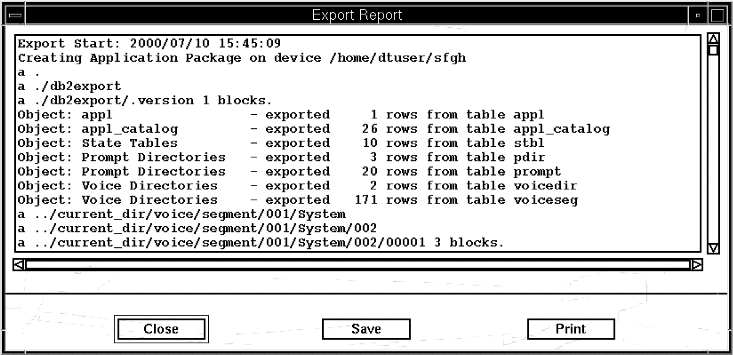
- Saving or printing the export report: If you want to keep the Export
Report you can print it or save it in a file.
- To print the Export Report, click Print. The report is printed on the printer specified by the Printer Queue system parameter in the Blueworx Voice Response parameter group.
- To save a copy of the Export Report, click Save.
The system displays the Save Report window:
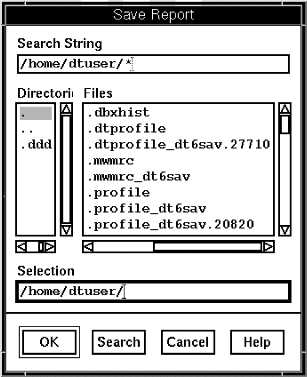
- Click the directory and select or type in the file name for the export report file.
- Click OK.
Next Step
The export file is now ready to be transported to another system. Use whichever method you normally use for this (for example, file transfer protocol (ftp)).