When you import ASCII code into a state table, you should take make use of the hints and tips described here:
- If you have more than one ENTRY_POINT with the same label, the first definition is used and all subsequent definitions ignored. There is no warning of this when you import the state table.
- If you define a prompt directory more than once, the final definition is the one that is used. There is no indication of this when you import the state table.
- If the prompt directory specified in the PROMPT_DIRECTORY statement
does not already exist in Blueworx Voice Response, there is a warning when you import the state
table, but the prompt directory is displayed in the state table as if it were
there.
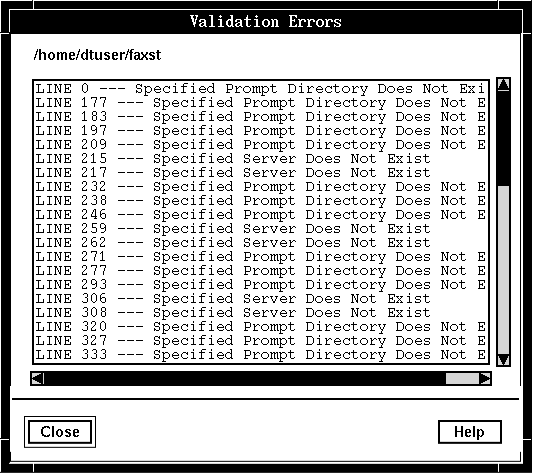
PlayPrompt actions that refer to a prompt directory that does not already exist, however, cannot be imported. There is an import error, as shown in step 5.
- Any state table referred to by an InvokeStateTable action, or any custom server or 3270 server referred to by a host-related action must already be present in Blueworx Voice Response. Otherwise the ASCII state table cannot be imported, and its name is listed in the Validation Errors, as shown in step 5.
- If the ASCII state table refers to a non-existent system variable, there is a warning when you import the state table, and the variable is shown in the state table action as Undefined.
- If you use the same label more than once, the second and subsequent actions using it will not import.
- There is a limit on the number of characters you can use for labels, edges (possible results), and variable names. If you exceed these limits Blueworx Voice Response truncates them. See ID and name limitations for more information on the specific limits.
After successfully importing the state table, you should validate it.
Use the following procedure to import code developed using an ASCII editor into a state table. Alternatively, you can use the DTst command to import your state table. See The DTst command.
To import ASCII code into a state table:
- From the Welcome window, click on Applications —> State Tables.
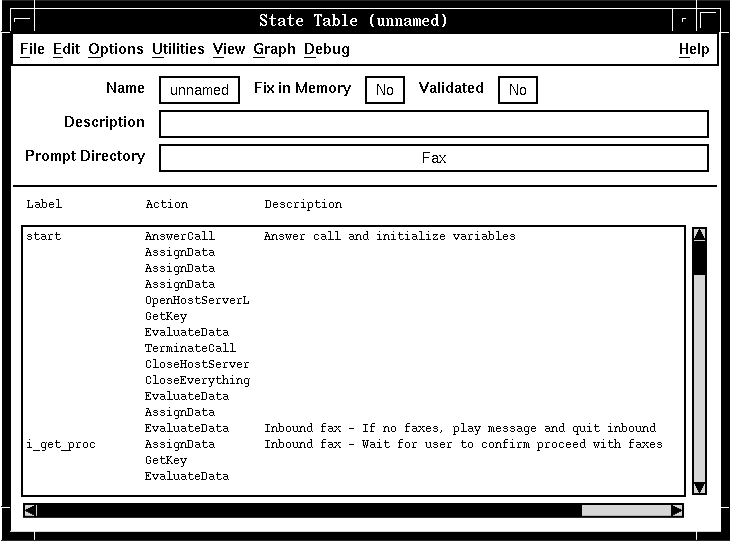
- Open the state table, or click New to create a new one. The system displays the State Table window with the selected state table.
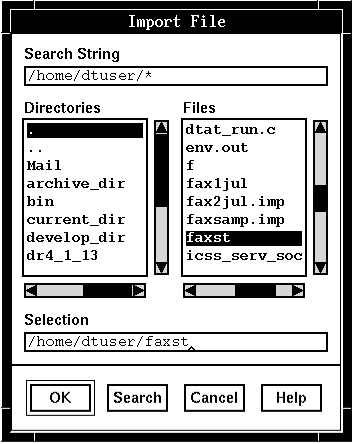
- Click Utilities —> Import. The system displays
the Import File window:

- If necessary, type the path name of the directory in Search String. Click Search to change to that directory.
- Select the name of the file you want to import in the list of Files, or type the file name in the Selection field.
- Click OK to import the file. The system displays
the Validation Errors window if it finds any errors.

- Make any necessary changes and repeat from Step 3. The system displays the successfully imported state table
in the State Table window.

- Save the state table and Validate it. Use Save As... for a new state table.
- Close the State Table window.