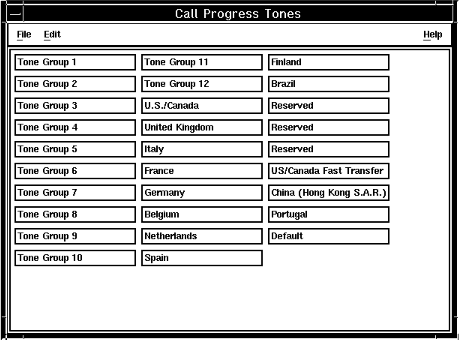
If you have specified your country or region by using Pack Configuration, the call progress tones are set up as correct for the national public switched telephone network. However, some of the call progress tones that are issued by your switch or channel bank might not be the same as those issued by the network. In such conditions, the tone parameter values must be redefined.
Procedure
In outline, the procedure is as follows: copy the appropriate country- or region-specific table to one of the numbered tone groups, edit that tone group so that the frequency and pitch of each tone matches the tones provided by your switch, and then update the Tone Group parameter in the relevant channel groups so that Blueworx Voice Response will use your customized tone group instead of the default table for your country or region.
- From the Welcome window, select Configuration —> System Configuration —> Change.
- Click Call Progress Tones.
- Accessing the Call Progress Tones parameter group:
 Note: In some countries, the telecommunications authorities have ruled that call progress tone configuration must be performed by an Blueworx representative. For this purpose, a special password-protected administrator profile, field, is provided, which gives access to field-level parameters, including the Call Progress Tone groups.
If the Call Progress Tones button is not displayed in the System Configuration window, you must log off and log on to Blueworx Voice Response again, this time using the user ID and password for the field administrator profile.
Selecting and copying a template
- Select the country or region or switch whose tone data you want to customize.
- Follow the instructions in Copying parameter values.
- Changing the parameter values : Click File —>
Open to display the newly-copied call progress tone table.
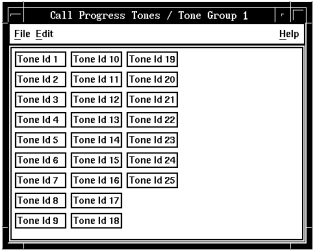
The system displays a window which contains 25 tone buttons, each representing one specific tone.

- Click a button that represents a tone that you wish to update.
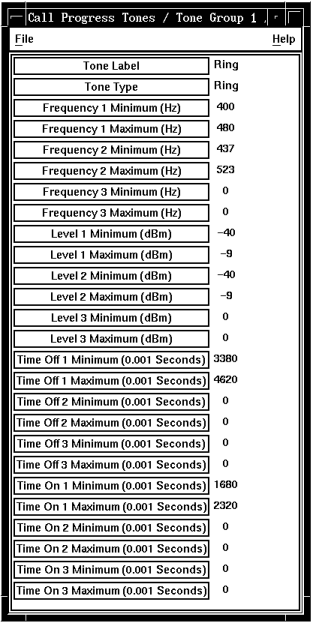
Click File —> Open to display details of the tone.

- Click a button that represents a specific tone parameter that you need to change. Click File —> Open to display the tone parameter window.
- Change the contents of the New Value field as necessary. Ensure that the value you enter here is inside the minimum and maximum permitted values (as displayed in the parameter window).
- Click OK.
- The system closes the tone parameter window; your newly-entered value is now shown next to the related button.
- Repeat Steps 8-11 for any other parameters that require updating.
- Click File —> Close.
- Repeat Steps 7-13 for any other tones that require updating.
- Click File —> Close.
You are returned to the main Call Progress Tones window.
- Click File —> Close.
You are returned to the System Configuration window.
- Saving the new information: Click File —> Save.
- Click File —> Close.
- You are returned to the Welcome window.
The new tone group is now complete. To use it, you must now specify this tone group in the Tone Group parameter for all channel groups that need to use call progress tones. Note that if Pack Configuration has been used to set the country or region for the system, Channel Group 1 has been set up to use Tone Group 1 and Channel Group 2 has been set up to use Tone Group 2.
If you do not want to wait until Blueworx Voice Response is next restarted, you must use the System Monitor window to disable, then enable, the associated trunks.